Elements
Elements represent the individual components of your world. Each Element is unique within and across Repositories. They can be grouped together in hierarchies and can be referred to using their position in the hierarchy e.g. Child Element.

Figure 2. Elements grouped together in the Example Repository
Elements are central to how MooD works. There are several things they allow you to do:Elements can be Queried, can have Models, can have their Field contents displayed in Matrices, Charts and Graphs, and can have Fields combined within Aggregation calculations.
It is beneficial for each Element Type to have a root Element called #TypeName. For example, a Customer Theme with a Customer Type would have the root Element #Customer. There are several reasons why:
- It’s useful for all elements of a particular type to be descendants of a #TypeName element that names their type. Queries on a type can start from the #TypeName element and use Find Children or Find Descendants as appropriate.
- Organization and protection against unwanted deletion. For example, all matrices for a particular Element Type are set to belong to its #TypeName Element. Alternatively, a #MatrixContainer Element can be set up for all matrices. This makes matrices easier to find and helps prevent unintentional deletion – users will be understandably careful about deleting anything with # in its name.
- Setting Permissions. Permissions are best set at the #TypeName Element and inherited where possible.
How to Create an Element
There are many ways you can create a new Element. Three of which have been listed below.
Using the Explorer Bar
- In the Explorer Bar, right click a Theme
- Select "New" from the menu
- If you have more than one Type for the Theme, select a Type for your new Element
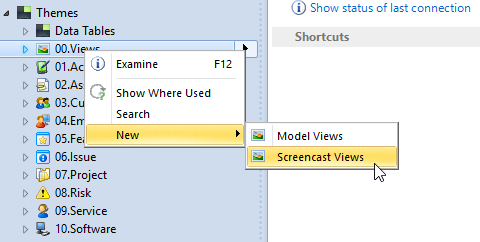
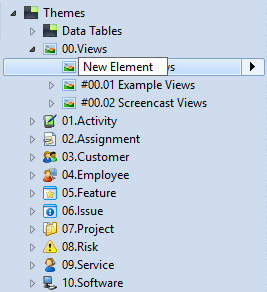
- Name the new Element
Using the Elements Dropdown in the Ribbon
- Open a model by double clicking the Element
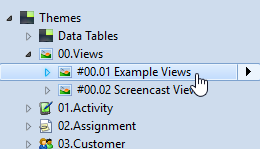
- In the home tab on the ribbon, click the Elements drop down

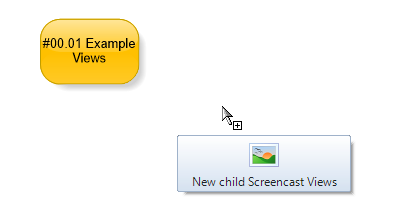
- Under 'New Child Element', click the Type you want the new Element to be
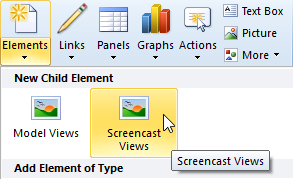
- Click anywhere on the model to place the new Element. The Element will be inserted in the hierarchy as a child of the model's subject Element.
Using Synchronizations
Synchronizations are frequently used to import data into a theme and recursively create or update elements. For example, the Microsoft Excel Import synchronizer is commonly used to import data from a spreadsheet. See <SAT Overview guide> for details on how to use Synchronizations.
Using Data Tables
You can also create, edit and delete Elements using Data Tables. Elements created using Data Tables are called Data Table Elements. To relate these to other Elements in MooD, you will need to create a Data Table Relationship.
For more information on Data Table Elements and Relationships, go to the Data Tables section of the guide.
How to Add Data to Element Fields
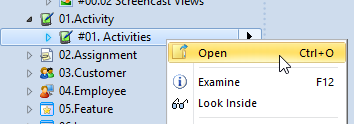
- Open an Elements definition window by right clicking on an Element and selecting "Open"
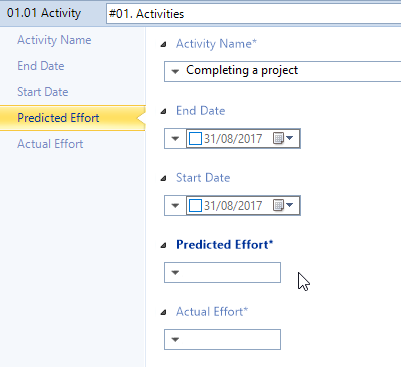
- Click on each of the fields and enter a value
- Save the Elements definition window by:
- Pressing Ctrl + S on the keyboard or
- Clicking the save icon above the ribbon on the left

Synchronizations can be used to import data about Elements to create and update fields.
How to Create a Field to Store Information on an Element
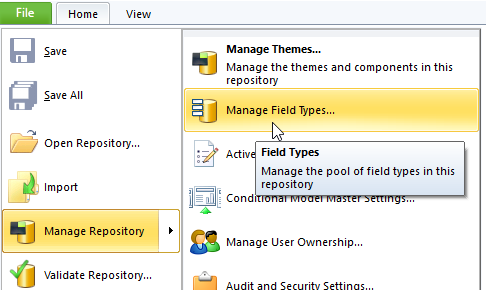
You can access Manage Field Types by opening the File tab, hovering over Mange Repository, and clicking Manage Field Types in the menu that appears.
Alternatively, open Manage Themes and select a Type. Then open the Definition tab and click "Fields" at the bottom of the window.
- Open Manage Field Types
- Click "New" and choose the field type you'd like to add
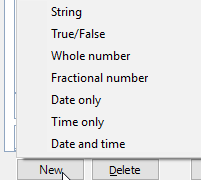
- The next steps depend on the field type you are adding
- Simple
- Select one of the simple types from the drop down
- Enter the field name
- Formatted Text (Memos in MooD 15)
- Enter the field name
- Pick Lists
- Enter the field name
- Choose whether the user will be able to select one option or multiple options by clicking on the 'User can choose' radio buttons
- Simple
- Click "Add Existing" and tick any existing items you want to add
- Click "New" and enter a name to create new items
- Right click an item to change the colour, icon, and shape
(Definition) Fields
Definition fields hold the data about individual Elements in the definition window. The fields can hold various types of values: plain text, formatted text, list items (pick list), whole numbers, fractional numbers and date/times.

Figure 3. Definition Fields of each Field type
(Element) Types
Every Element has an Element Type. Types are used to define the fields and relationships that an Element can have.

Figure 4. Fields and Relationships in an Element Types definition field
When creating an Element, the Types available will be those associated with the Theme you are creating the Element in.

Figure 5. Multiple Types created for the Views Theme

Figure 6. Multiple Types available for Elements in the Views Theme
For more information on adding and removing Definition Fields and creating Element Types, see the Creating Element Types section of the guide.

Comments
0 comments
Please sign in to leave a comment.